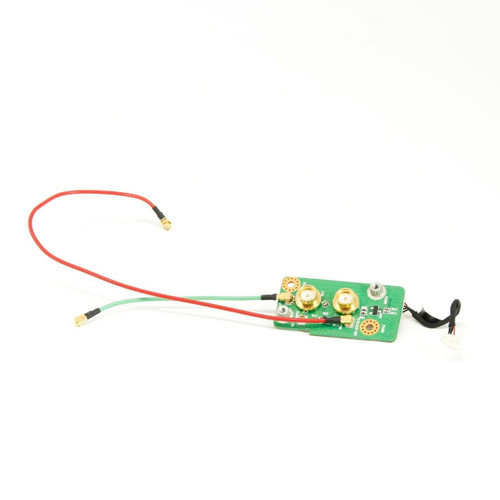
Getac Laptop Replacement Parts: Everything You Need to Know
If you own a Getac laptop and need to replace a part, it can be overwhelming to know where to start. This guide will walk you through finding the right replacement parts and installing them correctly, so you can get your laptop back up and running quickly.
How to Identify Your Getac Laptop Model
Before ordering parts from our website, you must know your Getac laptop model and generation. We currently only have parts for the S400, V100, and V110 models. These models have some hardware that is only compatible with specific generations. That's like the Getac S400 G1 came out in 2011 and the S400 G2 in 2014. Getac stopped making this model in 2017. The V100 model also has two separate batches. The first debuted in 2011, and the second launched in 2013. They ended production of the V100 in 2016. The V110 is still in production and is currently up to the sixth generation. Please carefully check the parts' descriptions to match your Getac laptop model and series.
Identify the Part You Need
To replace a part on your Getac rugged laptop:
- Inspect the computer or consult the user manual to determine the necessary replacement component.
- If you need further help, contact BJCS customer support.
- Use the search function on this site or browse our parts list for your Getac model.
How to Install Your Getac Laptop Part Safely and Correctly
Installing a new part for your Getac laptop requires some safety precautions and proper procedures. Before you start, you must turn off your unit and unplug it from any power source. It is also a good idea to remove the battery. You need to follow the instructions for installing the part provided in the user manual or from online resources. These instructions will guide you through opening the laptop, replacing the hardware, and closing the casing back up. If you need more clarification about any stage of the repair or encounter any difficulty, you should seek assistance from a professional technician or BJCS customer support. This step is crucial because it will help you install the part safely and correctly.
Test and Troubleshoot After Installation.
After installing the replacement part, testing and troubleshooting are essential to ensure everything functions correctly. Turn on the laptop and check that the replacement part works as intended. If you notice any issues or errors, consult the user manual or online resources for troubleshooting tips. It's also a good idea to run a diagnostic test to check for any other potential issues with the computer. If you still need help with problems, contact BJCS customer support.


